Beveled Glass Ornaments from an Old Brass Light
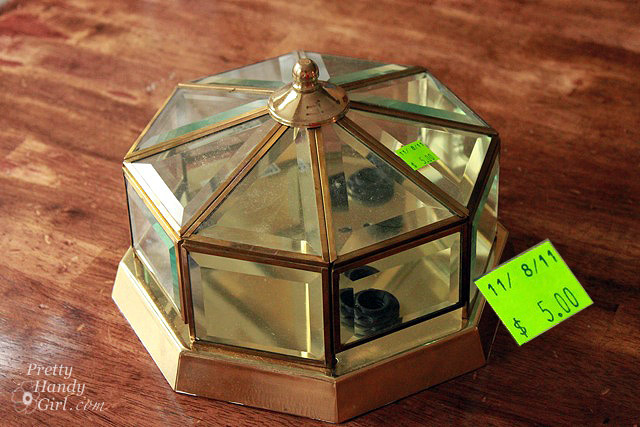
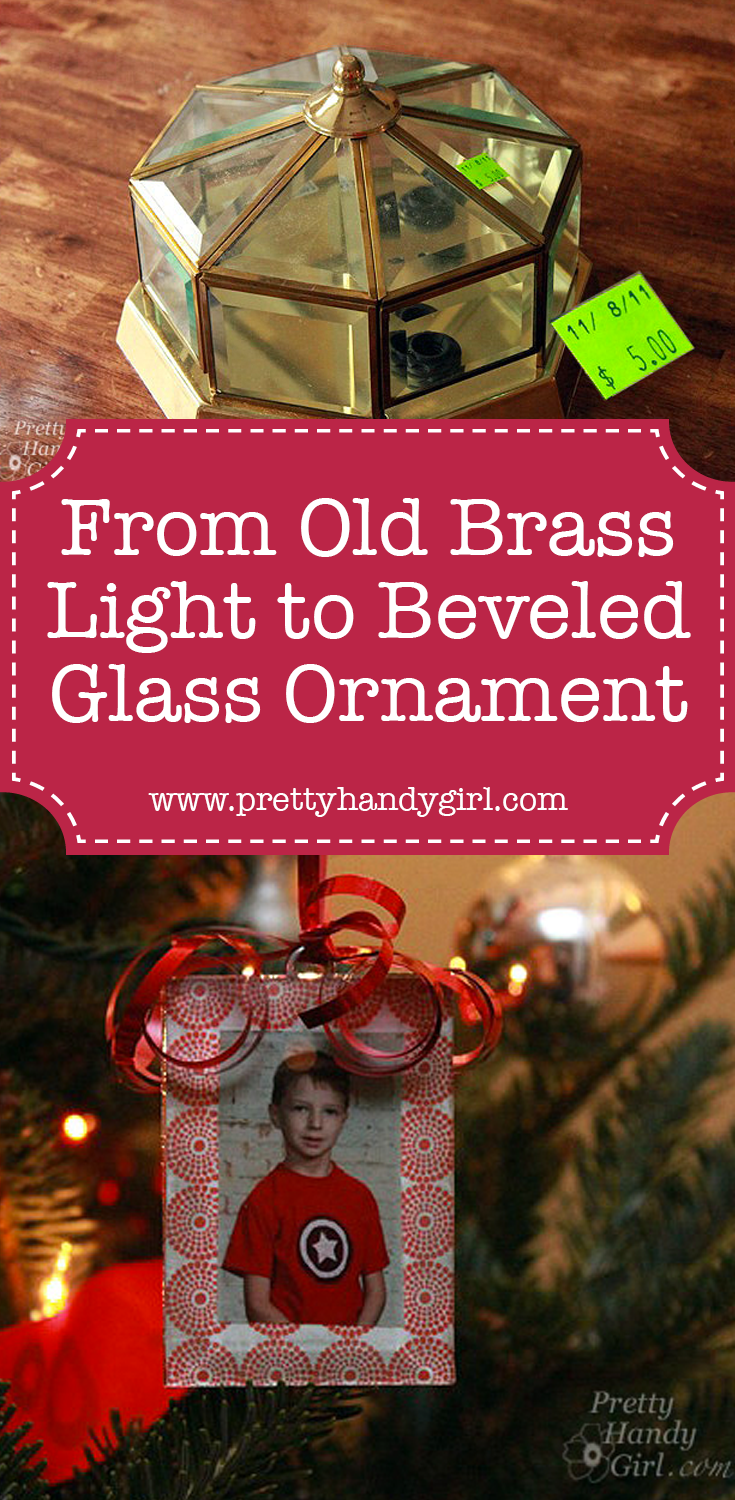
I had so much fun at the Habitat ReStore talk this past weekend. My favorite holiday decorations were these adorable beveled glass ornaments. Would you believe me if I told you that they began life as a dated octagon brass light fixture?
Well, they did! And here is the best part, for $5 you can score one of these fixtures at your local Habitat ReStore and make 16 ornaments from the one light!
Materials:
- Beveled glass octagonal light fixture (the flimsier the brass the better)
- Needle-nosed pliers
- Wire cutters
- Small flat head screwdriver
- Gloves
- Glass cleaner
- Soft cloth
- Scrapbook paper
- Printed photos
- Mod podge
- Paint brush
- Screw eyes
- E-6000
- Wax paper to protect work surface
- Ribbon
- Scissors
Instructions:
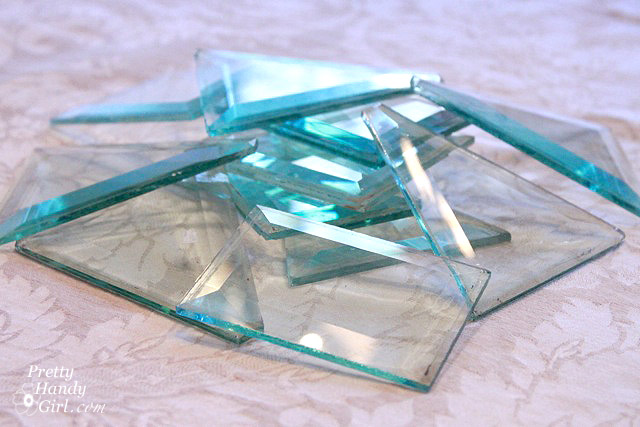
Put on your gloves for this first task! To free the beveled glass, you’ll need to poke, prod and cut at the brass surrounding the glass. Inserting a flat screwdriver will help to pry up the edges. As the edges come loose, cut into the metal with wire cutters, and pull it apart using needle-nosed pliers. All the while, use caution so as not to break the glass pieces.
After all the glass is free, clean both sides of the glass with windex and a soft cloth. Scratch off any dirt with your fingernail (or a razor blade).
Cut photos to fit inside the middle of the beveled glass piece.
Trace around the glass and cut a piece of scrapbook paper the same size as the glass.
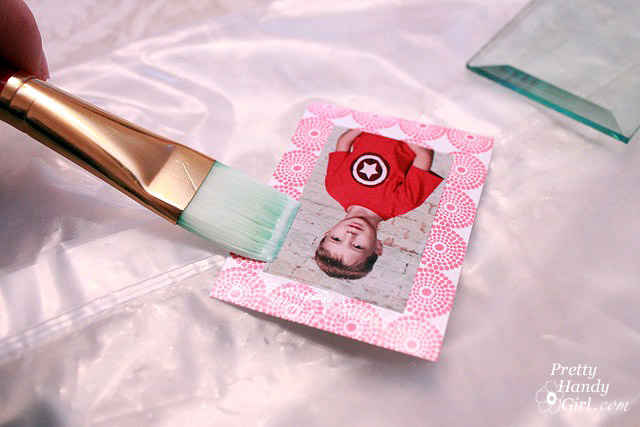
Coat the back of the photo with mod podge and center it on the scrapbook paper.
Gently coat the front of the scrapbook paper border with mod podge (do not paint mod podge onto the photo or streaking can occur.)
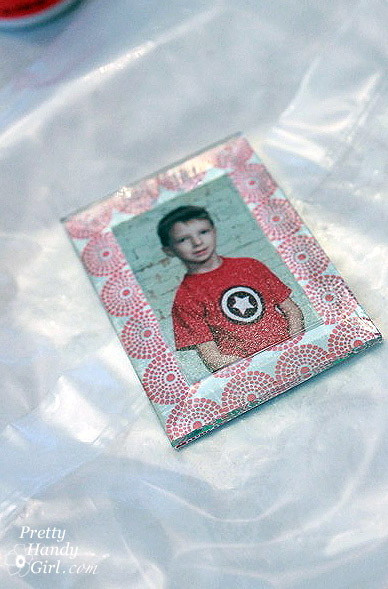
Press the flat side of the beveled glass on top of the scrapbook paper/photo.
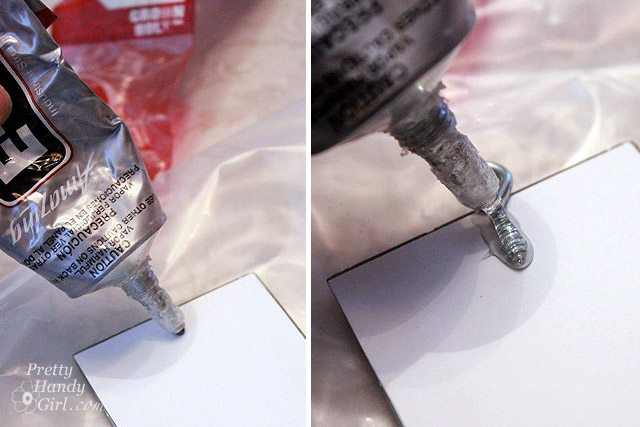
Flip the glass over and put a dollop of E-6000 at the top center of the scrapbook paper. Lay one screw eye into the glue, then cover the screw with a small dollop of E-6000 glue to secure the screw eye.
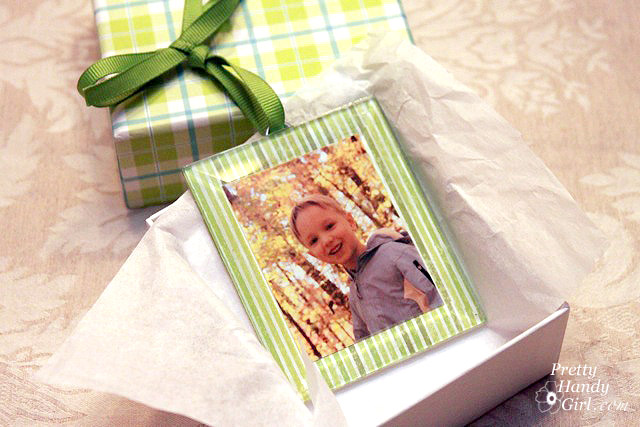
After the mod podge and E-6000 has dried, cut some pieces of ribbon and thread them through the screw eye. Make a loop with the ribbon and hang it on your tree!
Or give them as gifts to the Grandparents!
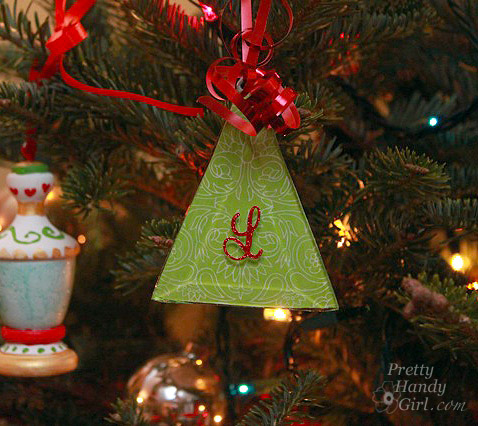
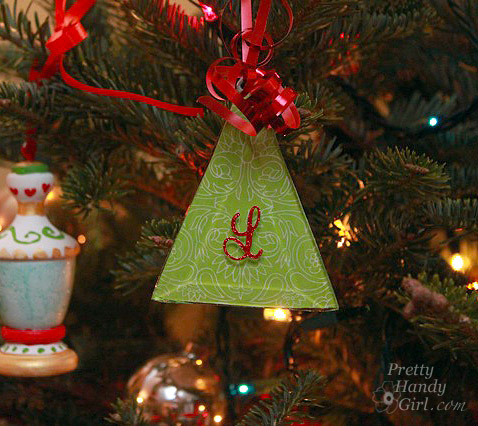
I made another ornament using scrapbook paper and stuck a monogram letter sticker on top of the glass. I also added a small quote on another ornament. The possibilities for this project are numerous!
I had to share with you a few other transformations that I showcased during the talk at the Habitat ReStore:
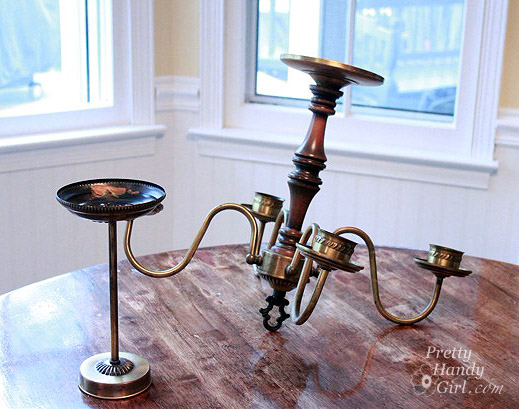
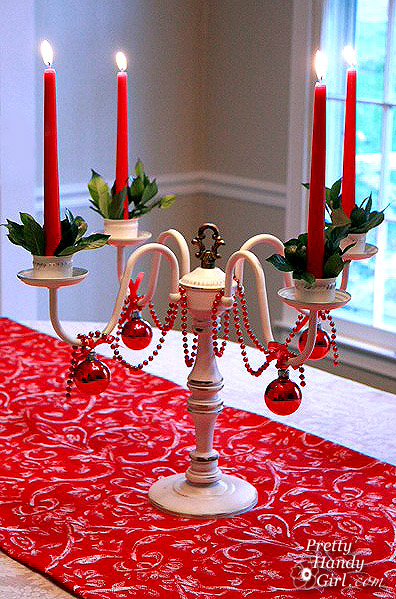
I took an old chandelier and flipped her over, coated her with primer, heirloom white spray paint and then added some distressing and finished with some antique gold Rub n’ Buff.
Now she’s a beautiful candelabra for our dining room table!
I used the canopy (round flat disk that attaches to the ceiling) as the base for the candelabra. When you take apart a light fixture, you can get creative by flipping and switching around parts and pieces.
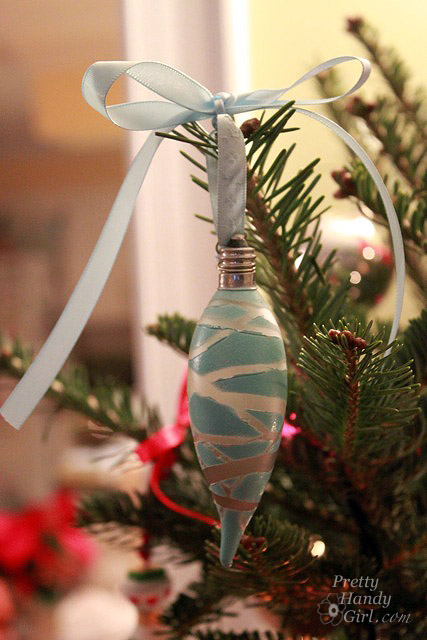
Old lightbulbs became adorable little ornaments with a few stickers and a coat of spray paint. My favorite is this clear bulb that I added a heart sticker to. When I peeled off the sticker a little heart shaped window remained. Peek inside to see the filament.
If you’ve ever wrapped an easter egg with rubber bands before dying it, you’ll recognize this pattern.
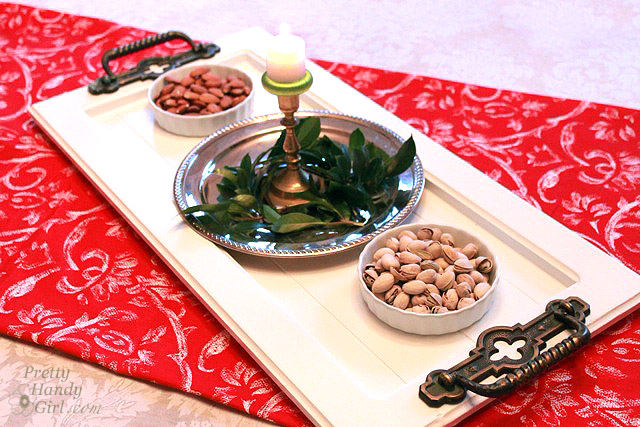
A $2 cabinet door and some chunky cabinet handles partnered to form a holiday serving tray. The handles also got a little Rub ‘n Buff for shine.
I’m sorry I don’t have the tutorials for you right now. Most likely at a later date, I’ll post them for y’all.
I have two announcements:
#1 – The winner of the RIT dye giveaway is: Judi! She said, “Dye WOOD –really !!!! Can’t wait to see what all else you (and I) can dye !! Loving it !!”
#2 – My son let me paint his cast like a candy cane! I used KILZ Clean Start (zero VOC) primer and a flat brush to give his cast the stripes. One of my facebook fans had the genius idea of asking Santa to sign it!
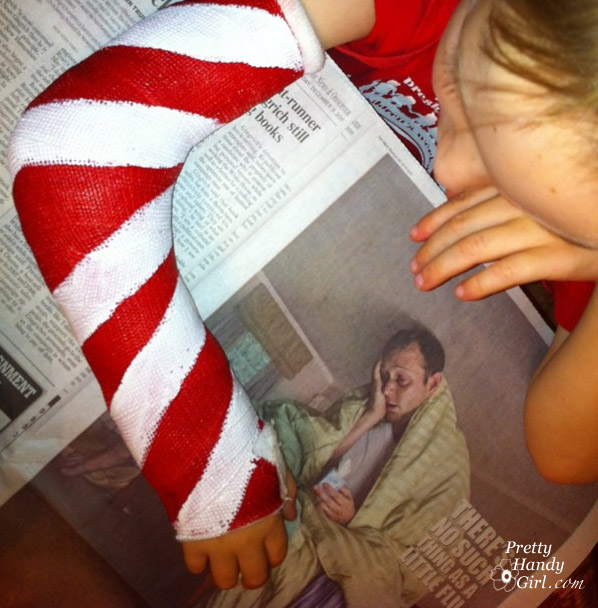 Let’s just hope that he can keep this cast for more than a week!
Linking up to Home Stories A2Z Tutorials & Tips Tuesdays – Centational Girl’s Holiday Home Craft Link Party – Not Just a Housewife’s Show Me What Ya Got – Funky Junk Interiors SNS











Awesome idea. I’ll be on the lookout for old beveled glass lamps and other items. Thanks for the share.
Smiles,
Lesli @ BeautifullyCoastal.com
Thanks for sharing these inspiring ideas. I love how you transformed these ordinary objects into such beautiful pieces.
You never seem to run out of great ideas! I tend to hold onto things because I want to find a new purpose for them, but then after years of collecting dust I donate them…I wish I could come up with some great ideas like you do!
I can’t wait to scroll through your blog to read more. I am smitten with your creativity! I love the candy cane cast…and glad to see only the red area is painted, the cast can still breathe. Back in the 70’s when they were always white, always dirty with smudged signatures, I painted my sons cast a solid navy blue when it began to look pretty ratty. He was very proud of his novel cast, but the paint sealed the cast air tight and it began to smell pretty ripe after a week. His teacher placed him in the back of the classroom, away from the other children, and her, for the last couple weeks!
More brilliance! I don’t know if it would work on these fixtures, but if you run across another light fixture and want to try it out, you might try a soldering gun to soften the metal a bit. It may/may not work, but could possibly make it an easier task to get it apart. I’ve done some stained glass work and there are special soldering guns for the copper and the flux, but a regular soldering gun might work. I’m just typing as I’m thinking, so proceed with caution!!!!
Love your ornaments. The cast is awesome.The serving tray is something I would like to make. Thanks for sharing all your great ideas,