Adding Nail Head Trim – Give me some bling!
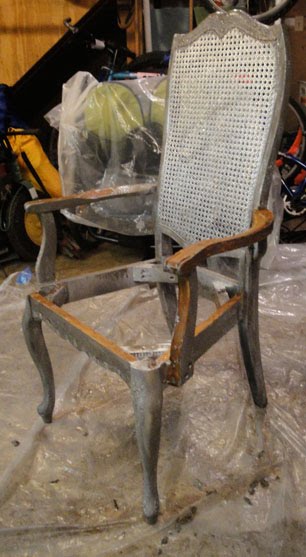
If you are coming here from a link party, this is the final post on my Extreme Rattan Chair Makeover. Click HERE if you want to see the transformation from the beginning. This chair started out as an U-G-L-Y silver painted dining chair that I scored at a yard sale for $5! I handed over my Abe Lincoln and ran before the owner could change her mind. Let’s learn about adding nail head trim now.
Today I will show you how to upholster the front and back of the rattan chair, add nail head trim, and then you can see the final results! Can’t wait, can you?
Well, grab your tools and let’s get crackin’.
Materials Needed:
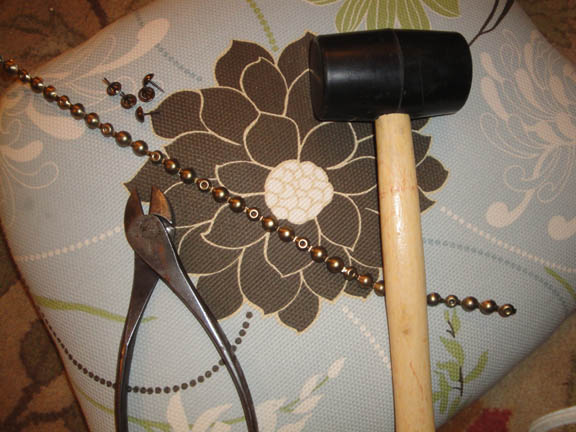
- Nail Head Trim* (Purchased every third hole style trim. It cost $1.25 per yd. on Amazon.com)
- Decorative Nails* 7/16″ x 1/2″ – French Natural (sold in bags of 50 nails for $1.70)
- Rubber Mallet
- Wire Cutters
- Posterboard or Tracing Paper
- Scissors
- Batting
- Cardboard
- Spray Mount
- Hot Glue Gun (with glue sticks)
- Screwdriver or cordless drill
* Just a quick note that I measured the areas on my chair using a sewing tape measure so I knew how much trim I needed. Then made sure I had enough decorative nails to fill in every third hole. Always order a bit extra in case you make a mistake or if you miss measure. Plus, as I will show you, I had to end some sections early and add extra nails.
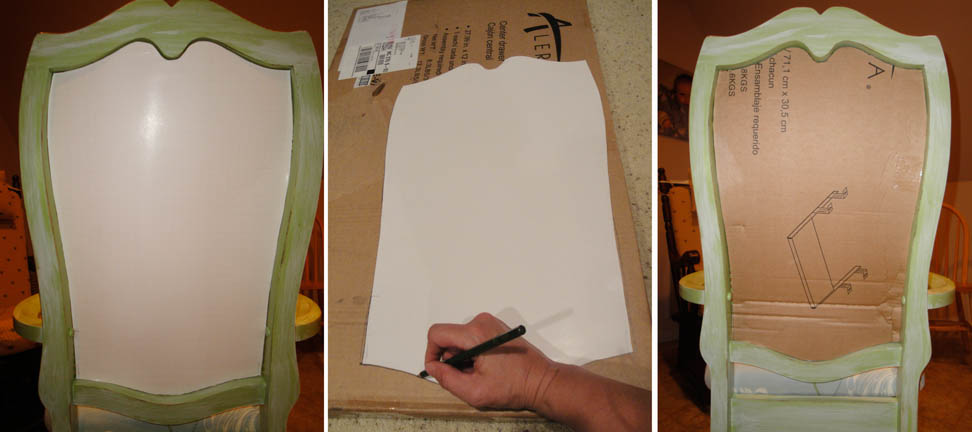
First thing I did was make a template for the back of my chair. I used a large sheet of poster board (the cheap kind you can buy at the drug store works great!) I used my finger to press hard on the paper and the edge of my chair back opening. When I removed the posterboard, you could see a faint score line. I then cut out the template. (You could alternatively tape several pieces of tracing paper together and draw around the chair backing.)

Then I fit my template into the back and made any cuts until my template was perfect. Next I traced my template onto thicker cardboard and cut out the cardboard for my chair back.
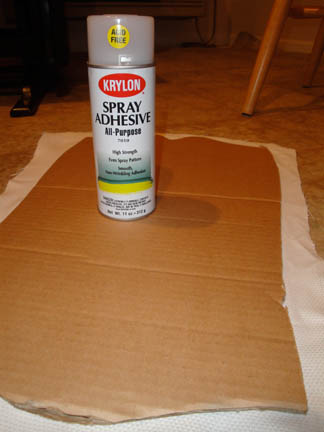
So, next I pulled out my spray mount, after putting a tarp down on the garage floor that extended about 4 feet in every direction from my cardboard. (Did I mention that spray mount can also travel when airborne? Be sure to cover a larger area than you will be spraying and prop up cardboard or more plastic if you are spraying near something you don’t want the spray mount to adhere to.)
I sprayed a light coating on one side of the cardboard. Then laid it on top of the fabric (Next time I will replace the fabric with the batting – having learned my lesson.) Make sure your fabric (batting) is stretched out so there are no wrinkles. Now, if you are using batting, you will want to get your fabric and lay your cardboard sandwich on top of the fabric.
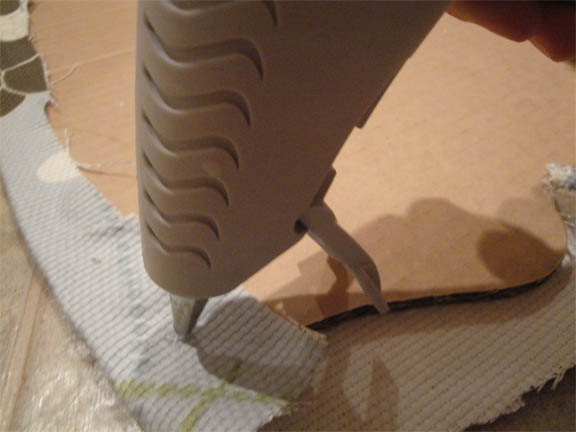
Now it is time to glue the fabric to the cardboard backing. Heat up your glue gun, and run a bead of glue along one edge of your backing. Fold the fabric over the back (being careful not to burn your fingers on the hot glue like I did) and press into the glue. Carefully fold the fabric around your edges.
At the top of my chair was a heart shape, which required that I cut a few slits into the fabric so I could fold the fabric into the cardboard notch.
You are almost ready to insert your backing into your chair. Before you insert the backing, run a line of hot glue all the way around the back of the chair where the rattan meets the chair frame. Then I set my chair back in place. This is where I realized that I should have added the batting. You can see two slight horizontal lines at the top and middle where the cardboard had a fold in it. So, I hope you can learn from my mistake. Although, I really don’t think it looks too bad (does it?)

Nailhead trim time – Make her glamorous!
I pretty much repeated the same process for tracing the back (pressing my finger on the edge of the rattan area.) The front of the rattan was wider than the back. The good news is that once you have your template cut out of posterboard, you can go right to cutting the fabric and batting, instead of cutting a cardboard backer. I used two layers of batting for extra cushion. But, I could have used more.

Cut your fabric about an inch wider than your template on all sides. Trace and cut your 2 + layers of batting to the exact size of your template.
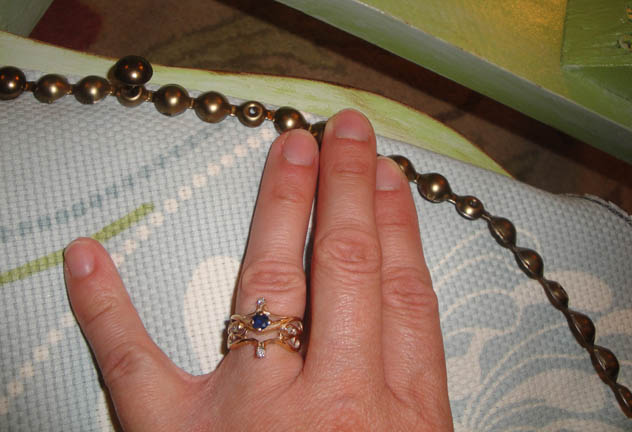
Now you are ready to put your fabric and batting on the chair. I laid my chair down on its back so I could work with gravity holding down the fabric and batting. Starting in a corner, gently fold the excess fabric around the batting and lay your nailhead trim on the edge of the fabric. Use your rubber mallet to hammer in the first nail into the first hole in the trim. Continue along slightly bending your trim to match the curves on your chair.
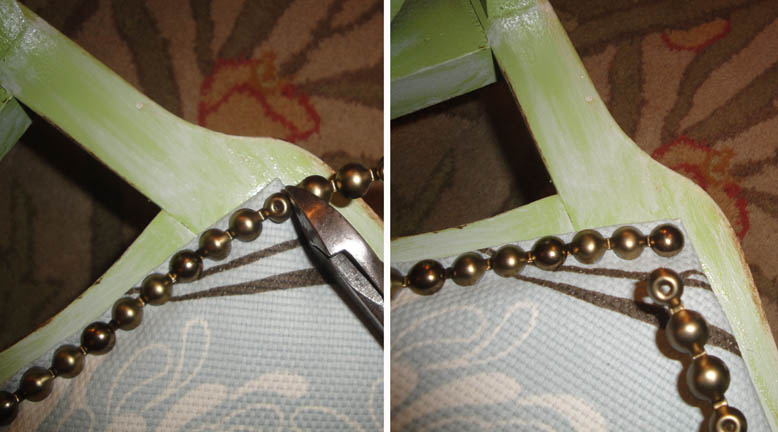
When you reach a corner, you will need to cut your trim. If you can’t end with a nail hole at the corner, you will want to cut your trim at a hole and add a nail or two next to the hole to finish at the corner. This will ensure that you don’t have the excess trim popping up or catching on anything. Then I cut two extra nail head bumps off my trim so that I could start with a hole again.
Work your way around the whole back of your chair until you have completed the nailhead trim border. I also chose to add nailhead trim along the edge of my chair below the chair cushion. Why not?! At only $1.25 per yard, it has big bang (or should I say Bling!) for little bucks!

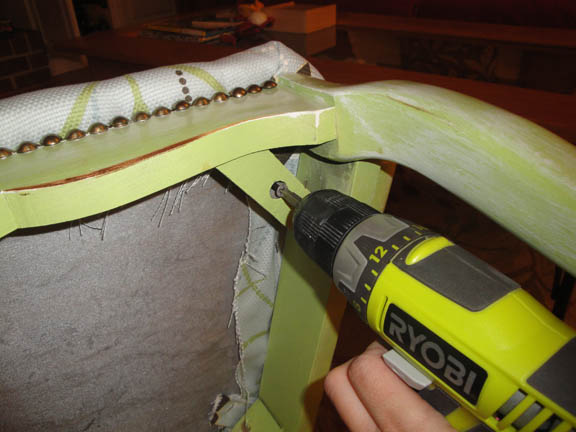
Now the moment you have all been waiting for. Time to re-attach your seat cushion to the chair. Lay your cushion back in place, and locate the four mounting screw holes underneath. Use your cordless drill (highly recommended over the screwdriver) to screw in the mounting screws.
Then, set your chair upright and swoon over your “ugly duckling turned into a beautiful swan!” Isn’t she lovely!
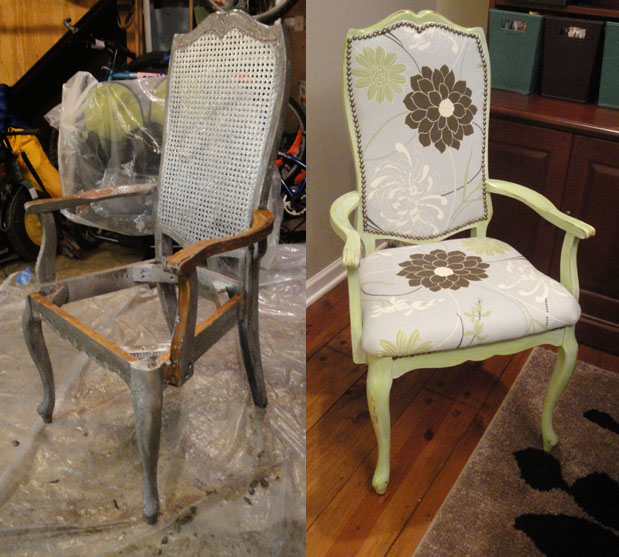
This concludes my Extreme Makeover of a Rattan Backed Chair. I hope you will check back soon as I show you some of our office renovation.


So the back of the chair is merely cardboard..?? and it doesn't buckle when you lean on it? It looks great.. cardboard just seems too easy..and I think my grandson would try karate chopping it.. ahahha
I just wanted to stop by and let you know that I linked to this post today from the new Home & Garden channel at Craft Gossip. 🙂 My hope is to share many of the fabulous projects I see everyday with the vast CG audience. I hope you will not only stop by and subscribe to CG, but will tell your friends about the new category! Hope you see some traffic from it!
Your feature will appear in the main Craft Gossip RSS feed, on the main home page and can be found directly here
http://homeandgarden.craftgossip.com/trash-to-treasure-chair/
If you would like a "featured by" button, you can grab one here!
http://homeandgarden.craftgossip.com/grab-a-craft-gossip-button/
Beautiful and the end result was certainly worth all of the time that you put into it!
This is absolutely gorgeous!! It's hard to believe that it's the same chair.
Beautiful transformation! Thank you for showing the steps. I love a good makeover. This one is adorable. -K
what a great transformation! This looks beautiful! I'd love for you to link it up http://iheartnaptime.blogspot.com/
Love, love the chair….I have a bed in our guest bedroom that is screaming for a makeover and I think you have just given me a great idea for the headboard
What an amazing transformation, absolutely stunning!
Great project! Thanks for all of the hints and tips and product costs and where to buy. I'll be using this info!!
Your chair is absolutely gorgeous!! You did an awesome job!
Nice tutorial..thanks for showing how to apply the nailhead trim. The chair looks like a different animal now! I love how updated it looks.
Love your chair. WOw.
Beautiful!! LoVe it!
wow. stunning results!
CONGRATS!!!