Finishing drywall seams has been compared to frosting a cake. But, as anyone knows, the first time you frost a cake, it doesn’t usually come out Cake Boss worthy. I figured it would be helpful if I gave you a few tips and tricks to get you on the fast track to learning how to finish a sheetrock joint like a pro.
As you might remember, we had to tear down our kitchen walls after we found termite damage inside. In all honesty, although it was a set back, I am really glad that we discovered it before we finished the kitchen.
I’m also thankful that Waste Management offered to set me up with one of those low profile Bagster® Bags. It was spacious enough to hold ALL of our construction debris.
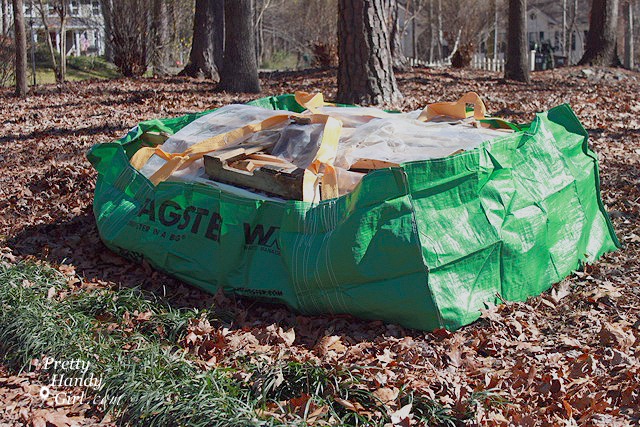
I seriously think a little boy lives inside me because I could watch this all day.
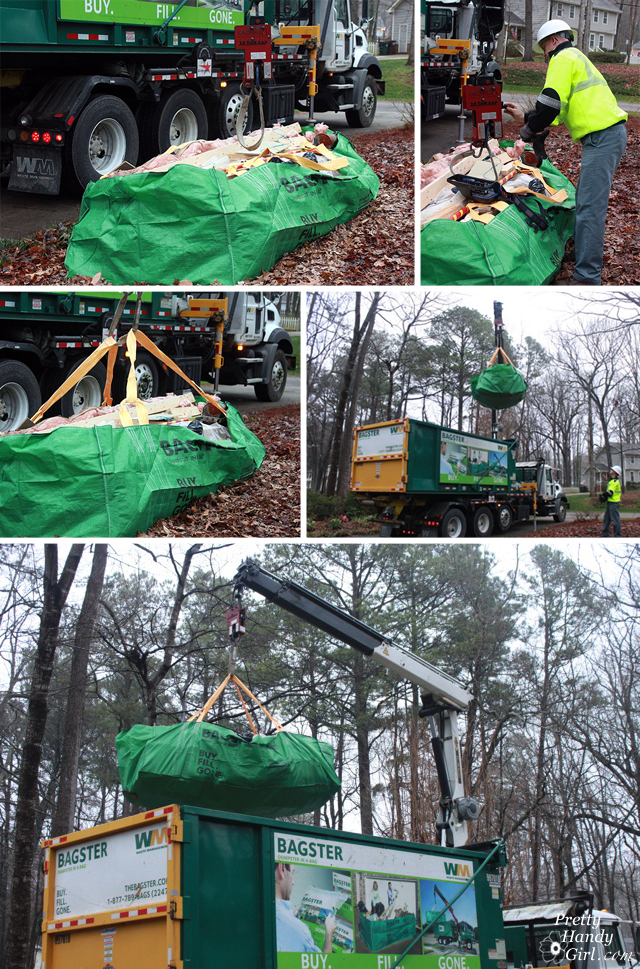
(You can watch a video of a Bagster® Bag being hoisted in the air here.)
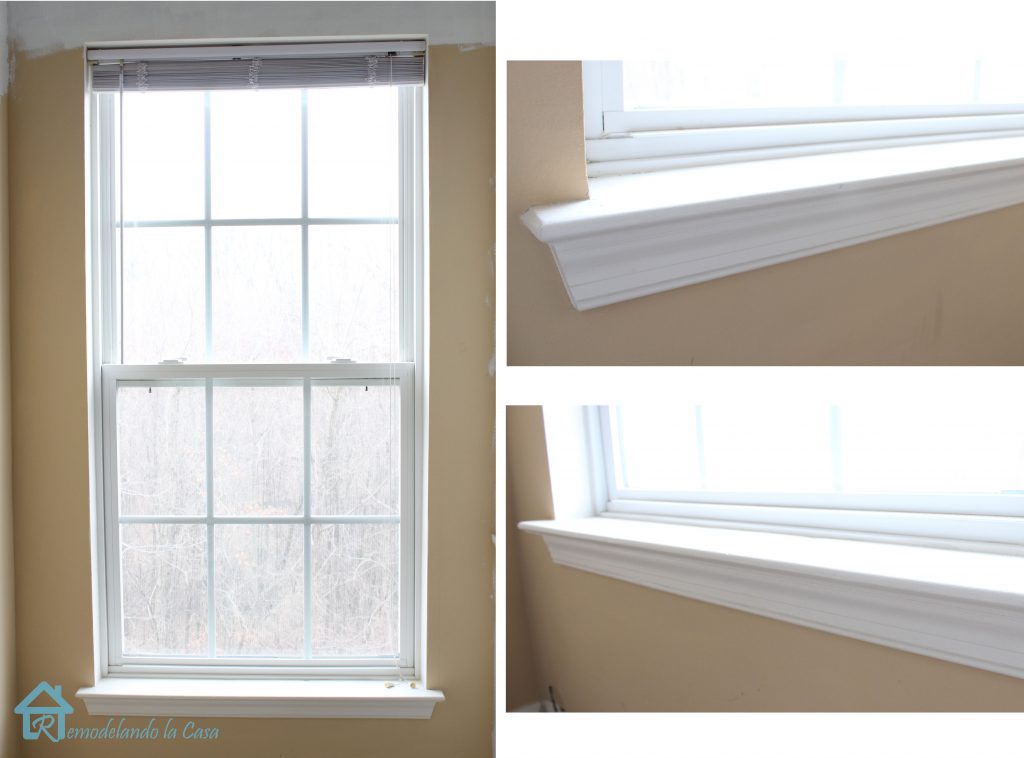
Now that the debris is gone, it’s time to focus on the task of finishing those drywall seams.

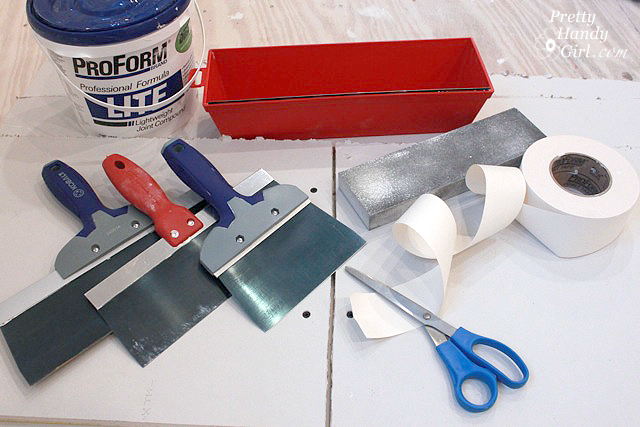
Materials:
- Joint Compound
- Mud Pan (at least 12″)
- 4″, 6″ and 12″ taping knives – (You might need a 3 or 4 inch one if you have to dig compound out of the bucket.)
- Drywall joint tape
- Scissors
- Sanding sponge
- Damp rag
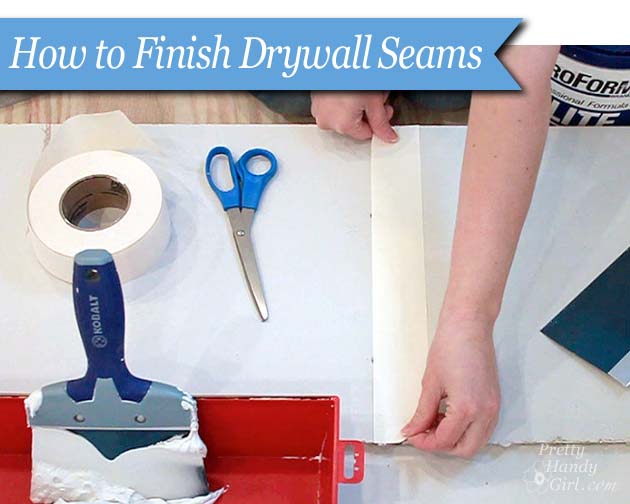
Instructions:
First fill all the screw impressions. Read more about installing drywall and the perfect screw depth here.
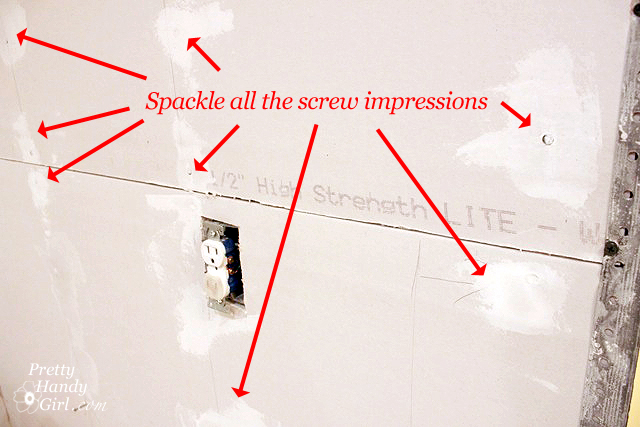
Use a small taping knife and spread just enough joint compound to fill in the hole impression. Scrape off any excess.

To show you the proper technique for finishing those seams, I made a short video (if you can’t view the video below, click here.)
I hope that helped you learn how to finish drywall seams like a pro! Just remember, it might take a little practice, but you’ll get the hang of it quickly. 😉
Have a great weekend!

Disclosure: This is a sponsored post. Waste Management partnered with bloggers such as me to participate in its The Bagster® Bag Blogger Challenge. As part of this program, I received compensation to cover the cost of the Bagster bag and pick-up as well as my time. They did not tell me what to purchase or what to say about the products used for the The Bagster® Bag Blogger Challenge. Waste Management believes that consumers and bloggers are free to form their own opinions and share them in their own words. Waste Management’s policies align with WOMMA Ethics Code, FTC guidelines and social media engagement recommendations. A winner will be chosen by random and voucher fulfillment will be handled by a third party.