I was strolling through our local Goodwill last week looking for goodies donated by people trying to claim a last-minute tax write-off. I came across a bucket with a $1 price on it and knew I could transform it into a beautiful aged painted pail.
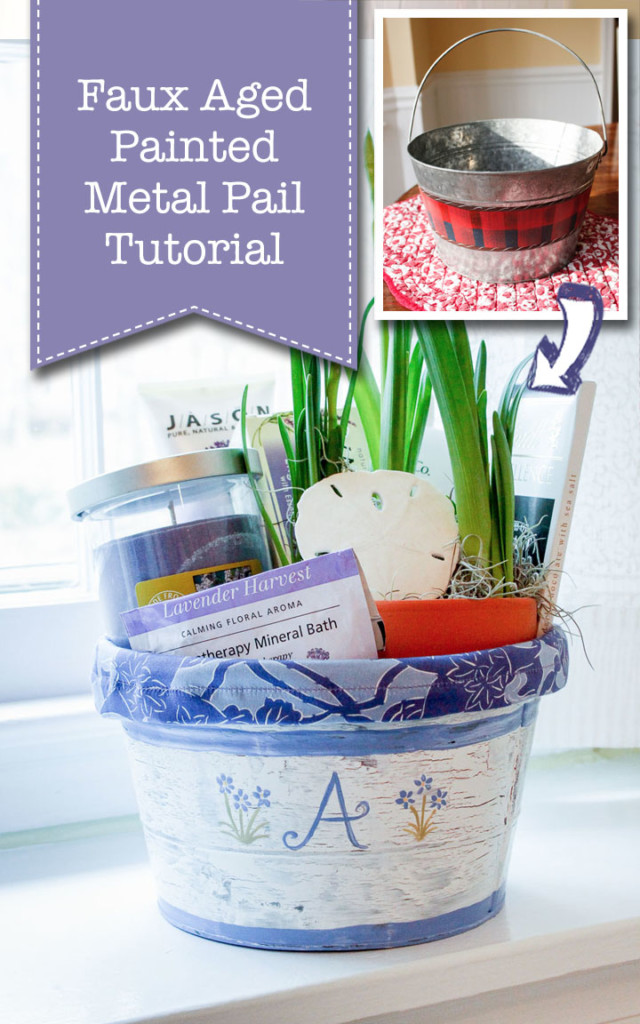
Aged Painted Pail Tutorial
Recently I found myself browsing our local thrift shop looking for a last-minute gift idea for a friend. I spotted a dated pail for only $1 and quickly grabbed it and ran to the register.
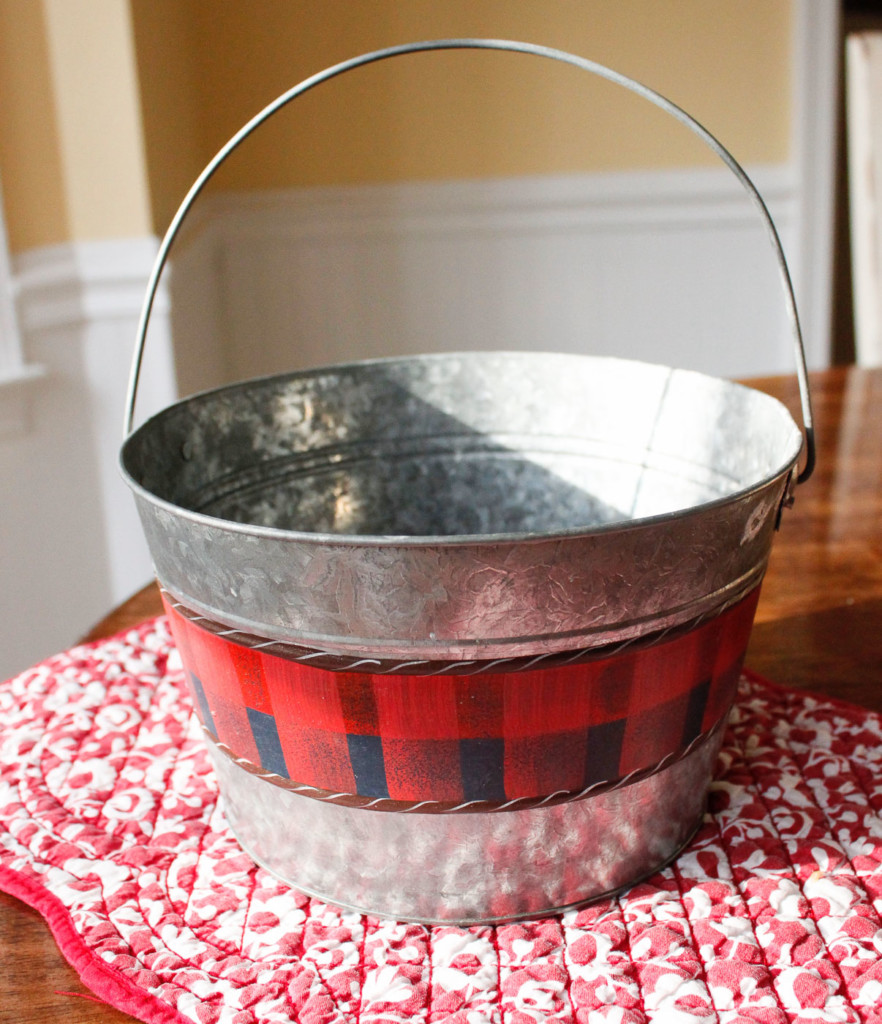
The pail had the original $9 price tag still on it, so I prayed the cashier wouldn’t scrutinize the major markdown to one dollar!

I knew exactly what I wanted to do with it. Miss Mustard Seed’s aged painted pails have been stored in my memory banks since I first saw them in August. (And that is saying a lot, considering I can’t remember what I ate for lunch today!) Marion used crackle medium, but I remember seeing a tutorial for crackle medium using regular Elmer’s glue mixed with a little water instead. Me being the frugal DIYer I am, I decided to give it a go. Are you curious to see if it worked? Me too.
How to Create a Faux Aged Paint Technique on Metal:

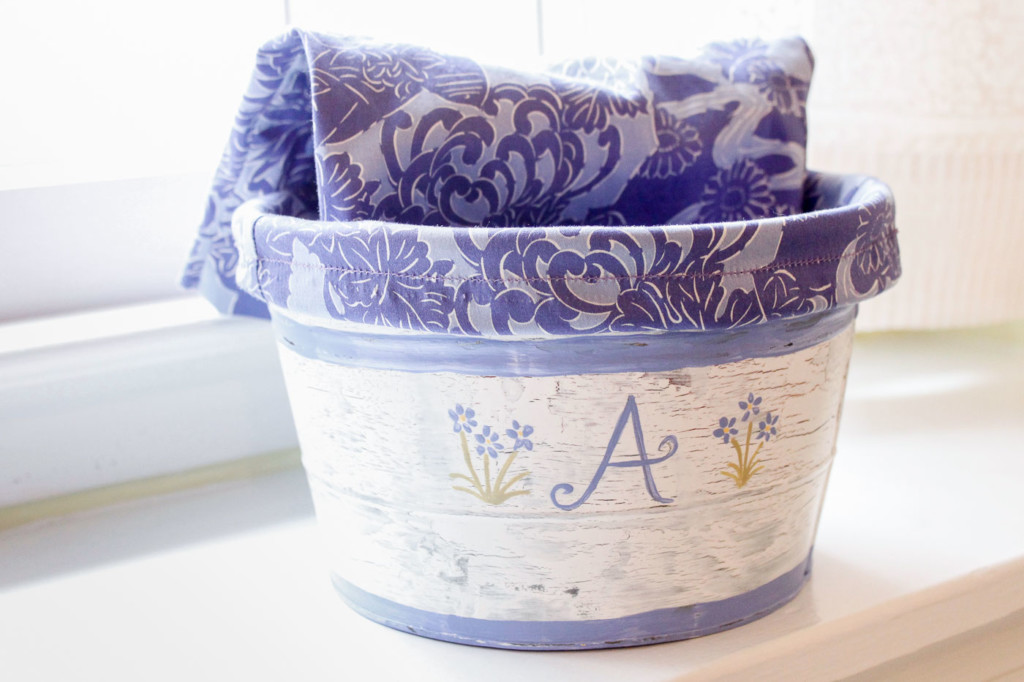
Let’s gather a few supplies and get to work creating a beautiful bin for storage or a gift basket.
Materials:
(I’ve included affiliate links for your convenience. I earn a small percentage from a purchase using these links. There is no additional cost to you. You can read more about affiliate links here.)
- Cheap metal pail or bucket
- Elmer’s Glue
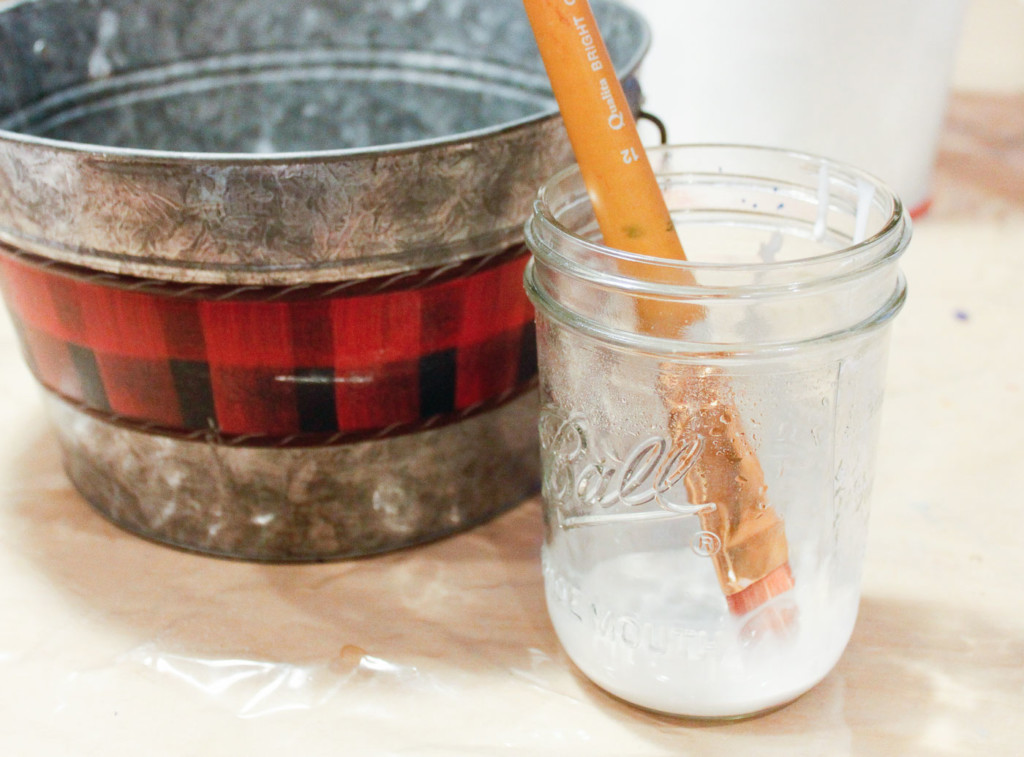
- Clean empty jar
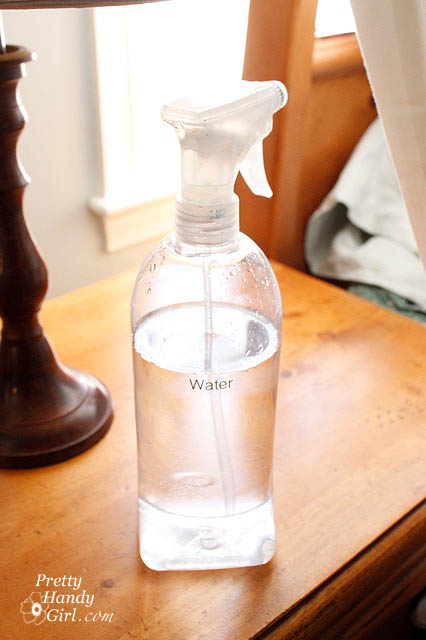
- Water
- Paint brushes
- Acrylic paints
- Matte Mod Podge
- Flat, Eggshell, or Satin Latex Paint
Instructions:
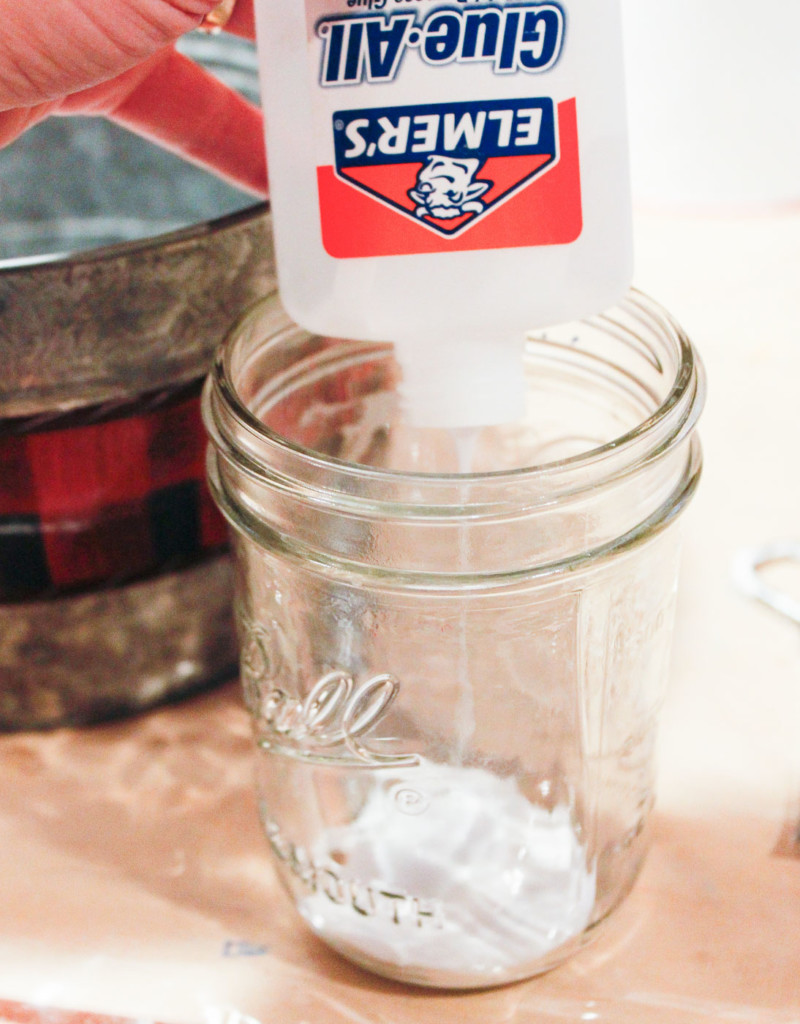
I only used enough H20 to water down the glue so it would be easier to paint on.
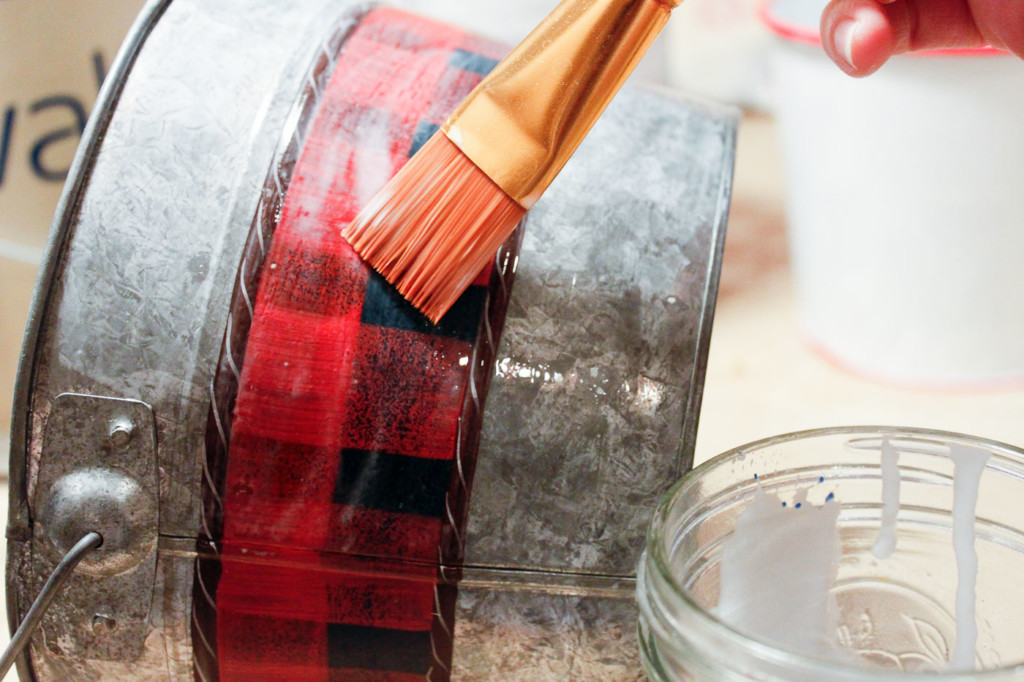
I brushed it all over the outside of the pail (bottom too!) And let it dry.
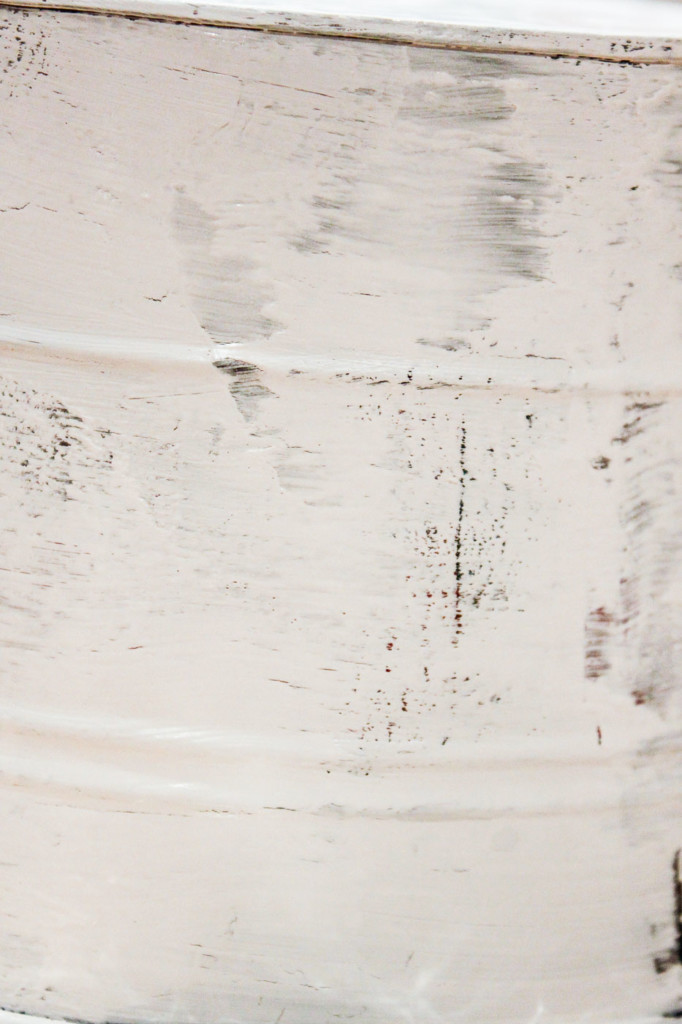
Next I pulled out leftover flat white paint that we use on our ceilings and painted one coat on the pail. I had to work quick, because the paint got gooey quick and you don’t want to keep brushing over the paint when it starts to dry (trust me on this one.)
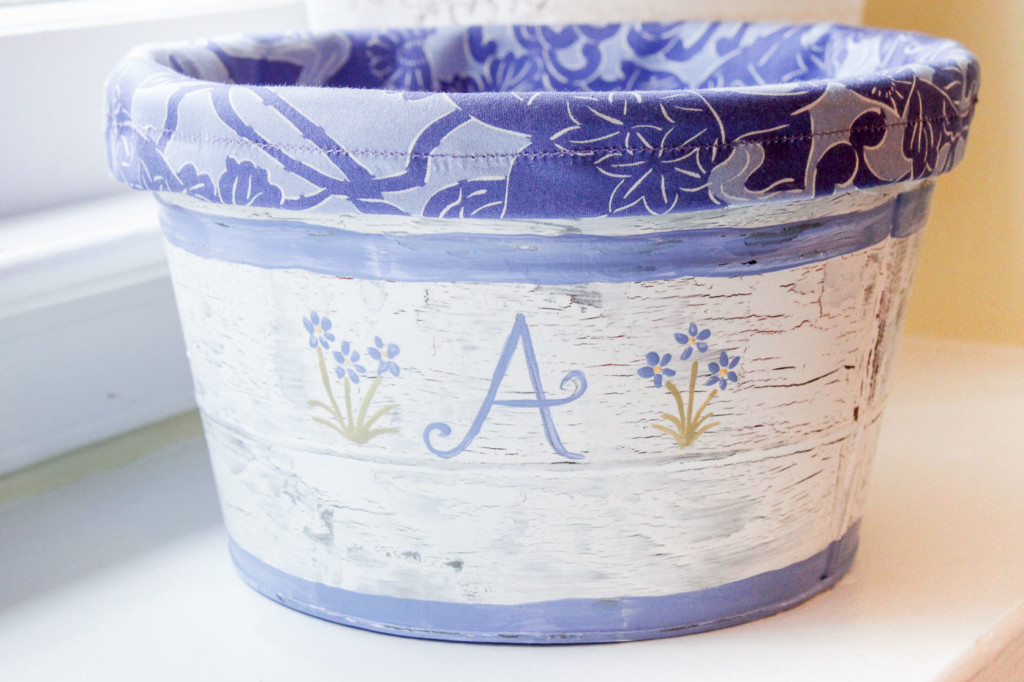
After the white paint dried, I took out some acrylic paints and painted some stripes, flowers, and a monogram.
To protect the paint from chipping off, I added a coating of matte mod podge. I have to admit, I’m still amazed a little Elmer’s glue and water worked to create a chippy crackle finish!
Isn’t it cute? Much better than the original.